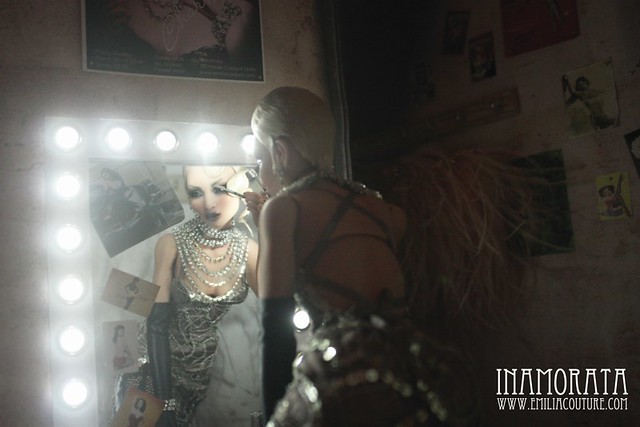
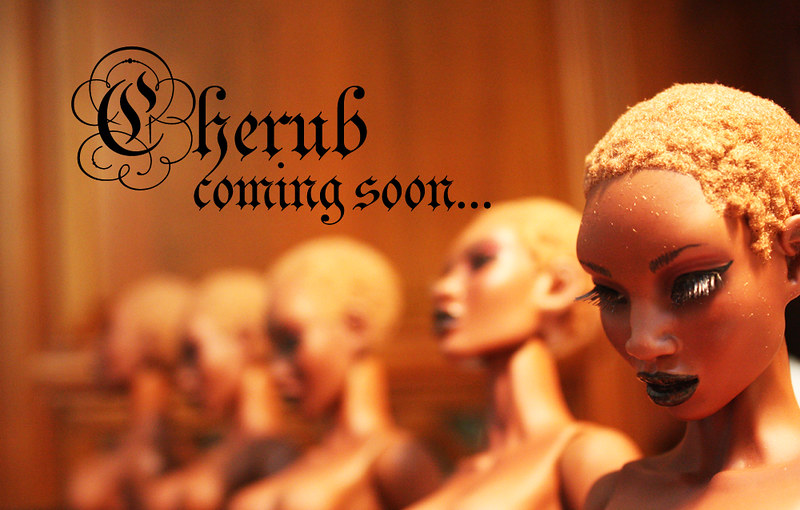
Good news! The loooong awaited doll and fashion are finally out tomorrow! So here is all the important info - read carefully.
The Cherub LE20 doll and Vertebrata LE30 fashion will be available on Monday the 14th of October at 11pm Paris time. I'm adding a countdown timer to our shop again so you can check it in case you get as boggled with the time zones as I do.
The drill is the same as with Inro: the dolls and fashions will be sold through our website on first-come-first-served bases. The checkout options are Paypal and credit card. Please don't forget to add your phone number in the Paypal note as it's needed for the DHL shipping forms. When paying with credit card the checkout will ask for it automatically.
And as a back up plan in case the website were to crash I will take orders by email - but only AFTER 11pm and if the website really crashes, so please don't start sending me emails just yet. If it comes to this please include the following info to your order email: mention it's a order in the topic, include your name, address, phone and email (both contact and paypal email if these are not the same). I will then send you a Paypal invoice that can be paid either by Paypal or by creditcard.
Like the last time I'm placing a restriction of 2 identical products per purchase so we don't lose the whole patch to ebay scalpers as soon as the shop opens. This means you can still buy 2 Cherubs, 2 Vertebrata gowns in Nude colour variation and 2 in Dust colour variation whether it is to save shipping costs by teaming up with a friend or if you just like doubles.
And now for the big bomb: I'm unveiling you the products now!
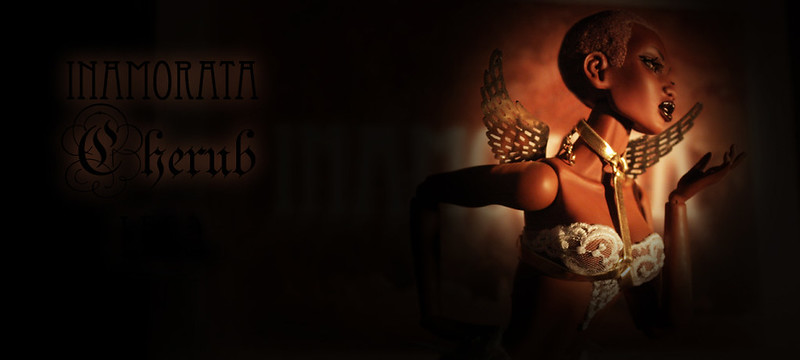
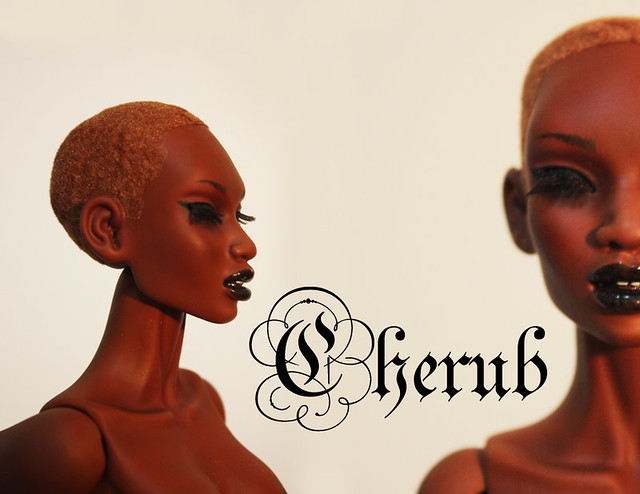
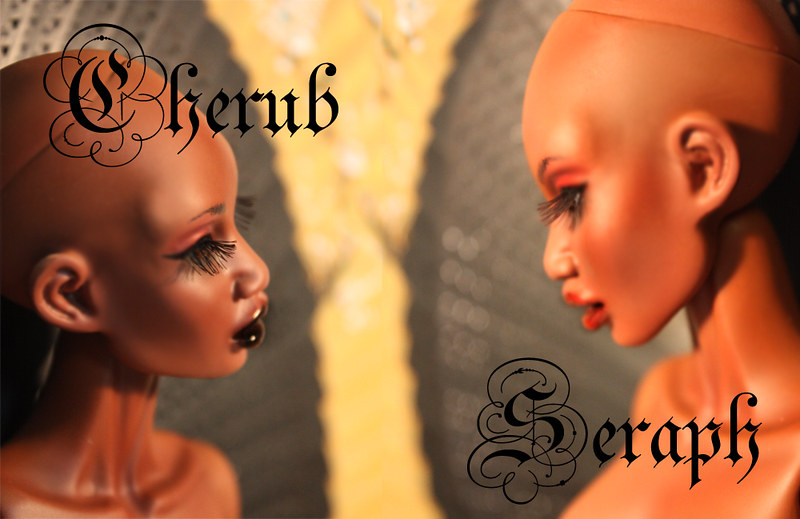
Cherub
The LE20 basic doll
475usd
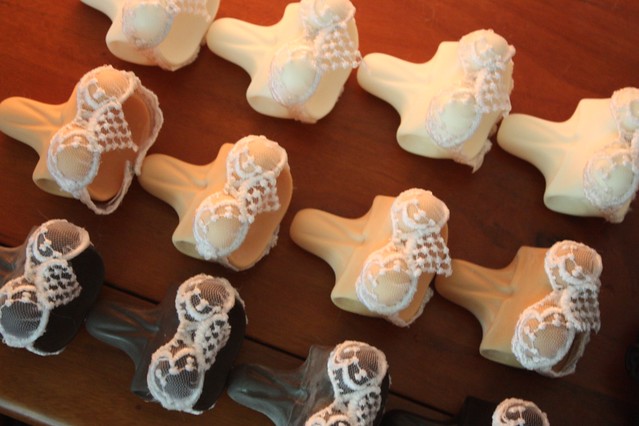
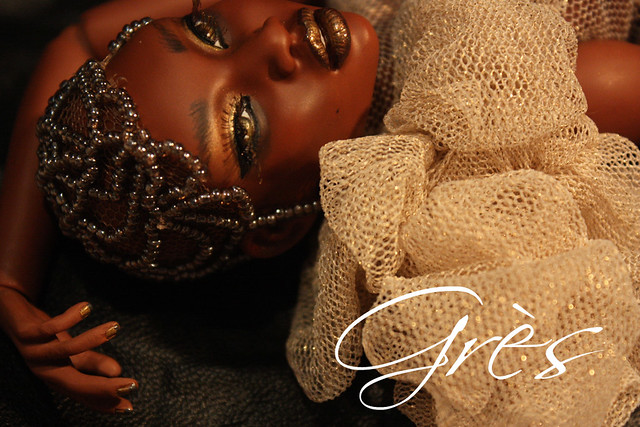
The Cherub features the Inamorata Nnaji sculpt in Chocolate skin tone and comes with flocked hair and basic lingerie. She wears a strapless underwire bra in intricate white lace and matching panties. Her shoes are white leatherette between toe sandals featuring the Art Nouveau serpent heels in glossy black. According to her angelic origins Cherub wears a gold leatherette harness with a pair of metal wings.
Cherub has brown eyes with with a gentle expression with subtle amusement. Her make up has a black cat's eye eye-liner, warm brown hues on her top lid and smoky hue eye shadow below the eyes, and coffee coloured lips parted to reveal upper teeth. Her applied lashes are medium length and nail polish is coffee black.
The flock hair is great with traditional wigs as it gives a good grip to hold the wig firmly in place. However, this means she cannot share Inamorata size hard cap wigs. If you want to wash the flock off email me for a safe tutorial. I have also left 2 Cherubs bald so leave a note at check out if you want a bald one. First 2 buyers with the special note get the bald girls.
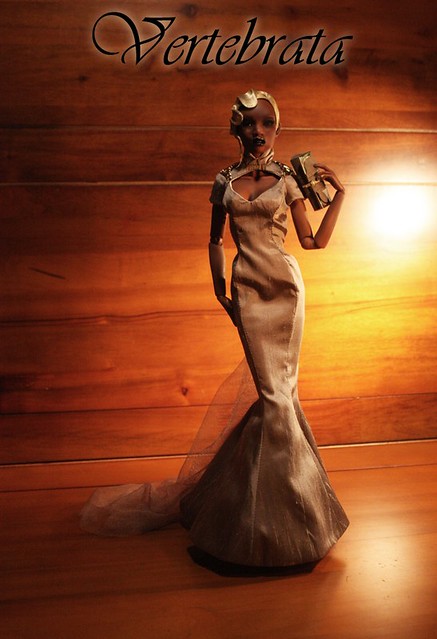
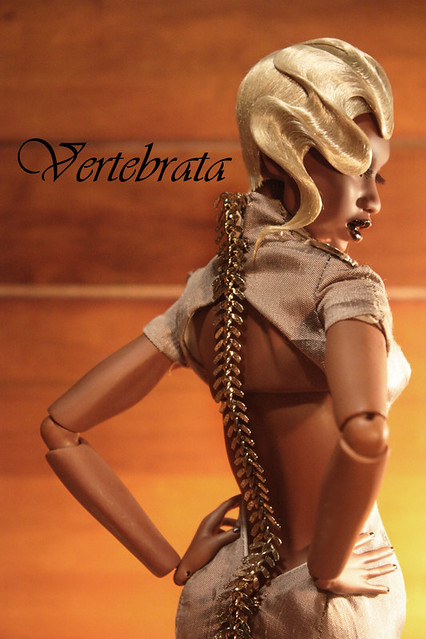
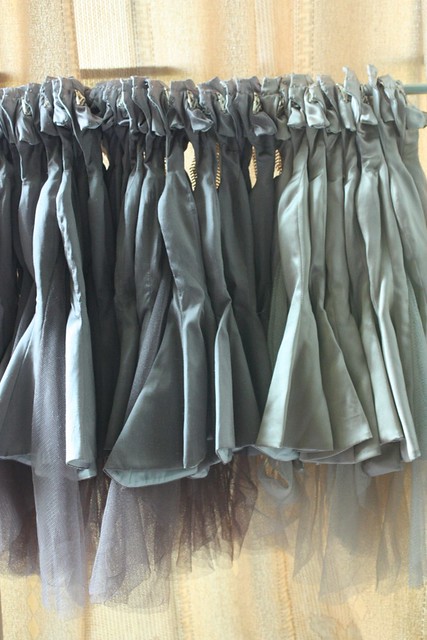
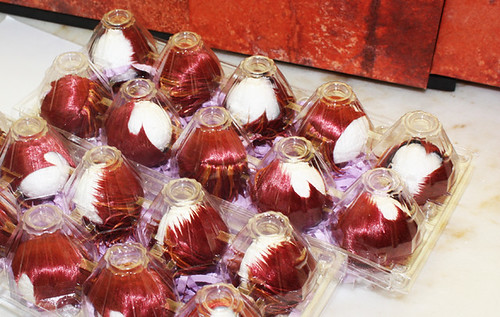
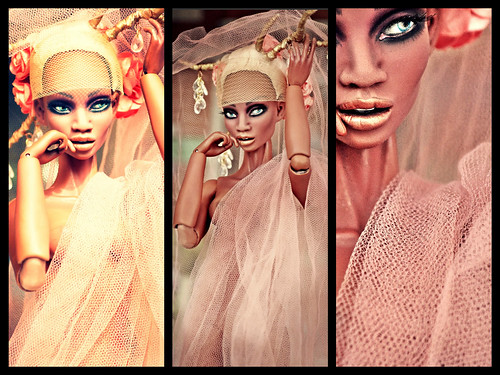
Vertebrata
The LE30 fashion
Two colour variants: Dust LE20 and Nude LE10
199usd
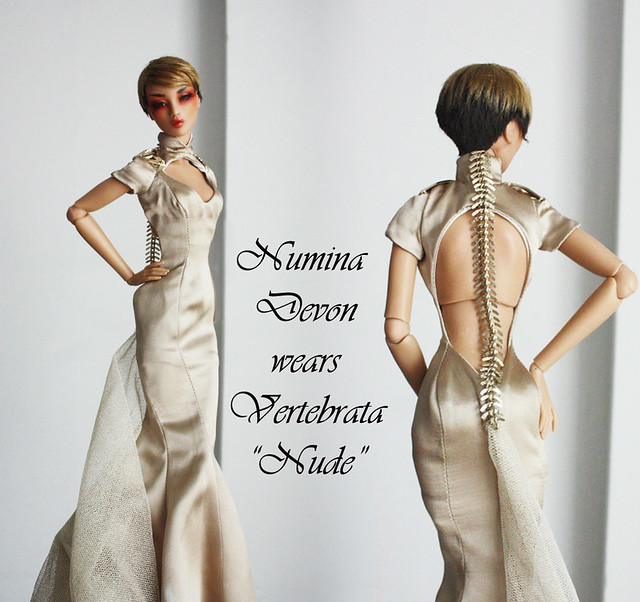
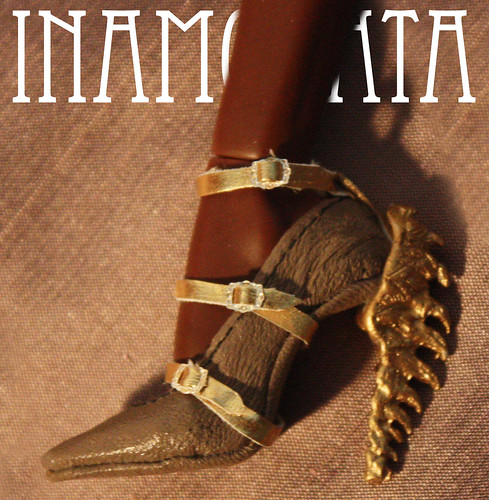
The Vertebrata gown comes in 2 different colour variations: Dust (LE20) and Nude (LE10). Dust is a 2-tone cross weave silk of powder pink and black making the fabric an elegant dusty grey with a mauve hue. The Dust silk is coarse dupioni with a raw feel to it and the trail of the gown is a matching colour soft netting. The Nude is a luxurious silk satin in toned down shade of pale powder beige. The trail of the gown is a matching colour soft netting with golden hue. The colour variation share accessories in beige leatherette: three strap pumps with golden edgy spine heels and a clutch with metal corners. The focal points of the Vertebrata gowns are the metal ornaments on the shoulders and a pale gold spine snaking down the naked back.
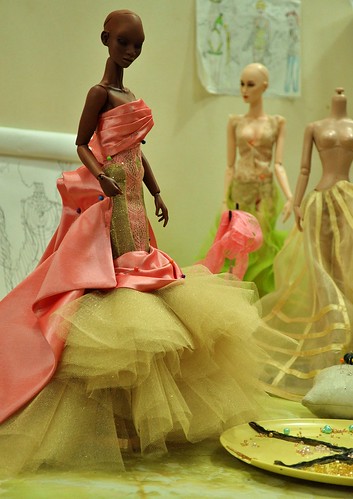
If you have hard time deciding which colour to go for here are some tips: both "Dust" and "Nude" do perfectly with Nnaji's usual Chocolate skin tone. If you want the gown for Inro I recommend "Dust" as "Nude" does not compliment the Peach skin tone as well.
The Vertebrata also fits Numina Devon and Ajuma.