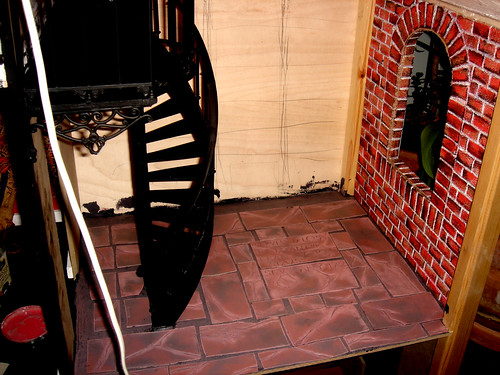
As for the floor of my library, I wanted something special and old. The oldest libraries of Europe were all monasteries where monks copied the ancient books by hand in the echoing halls. To preserve that notion of history into my own library I chose those stone tiles worn by centuries as my inspiration.


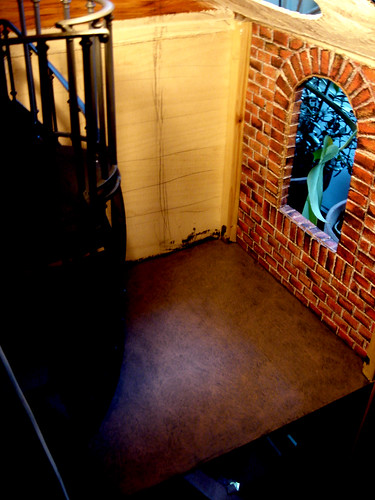
I painted the floor with same shades I will be using on the tiles to lessen the contrast between the tiles and the floor between them. The paint has three layers: black, dark grey and brick brown beaten together with a dry brush.
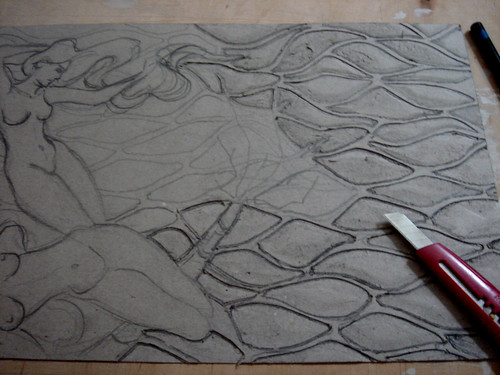
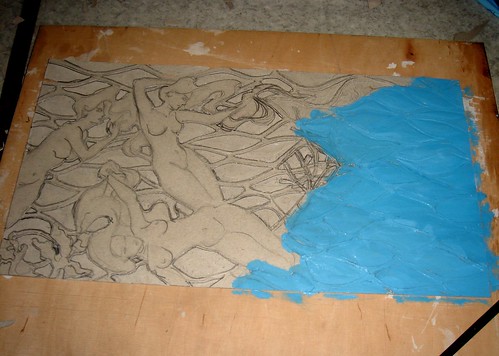
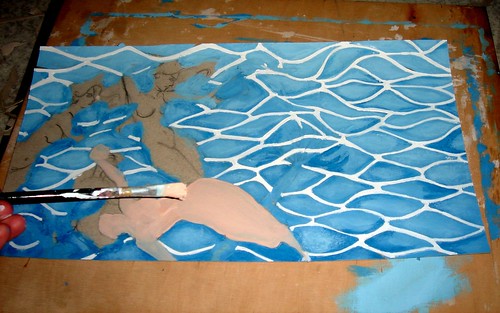
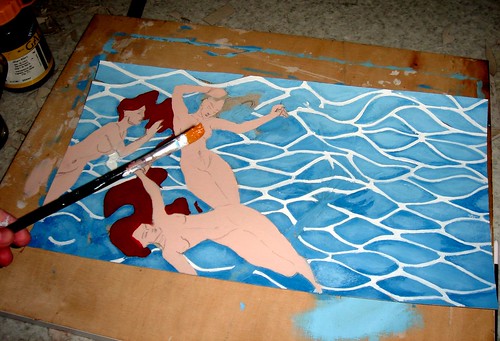
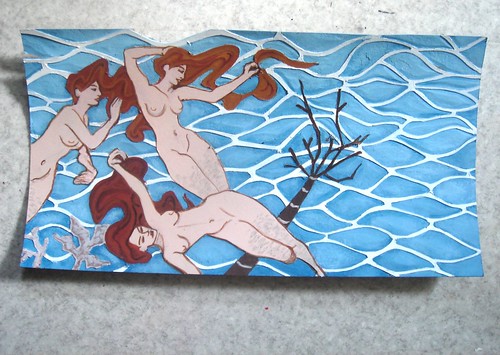
Forgot to take pictures of the phases in between again, sorry. What I did before this was cut the tiles out of cardboard and carve some cracks and ancient tombstone markings on them. I used the same materials, tools and methods as in the water nymph fresco earlier, so you can check the process from that post. I could not fit all of the text from my inspiration picture to the main stones, but for me the visual effect is much more important than the meaning of the tomb markings on the stone - actually I though it better to leave out the name of the buried anyhow, not really politicly correct to have a historical person buried under your library is it?
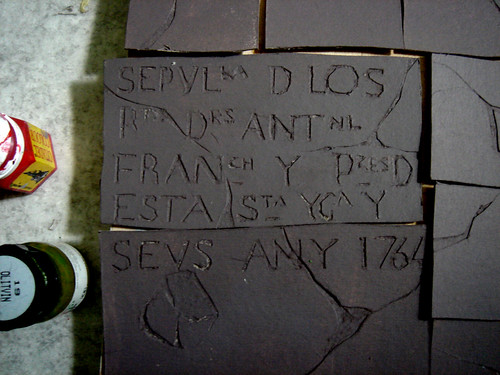
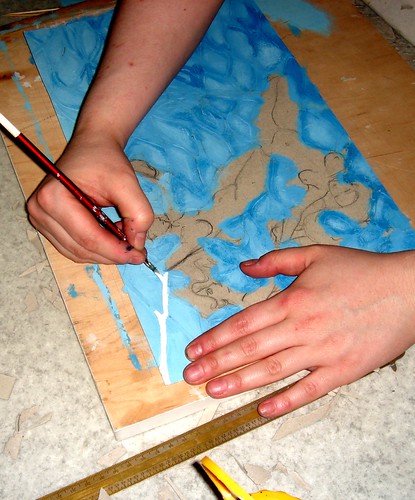
The secret of painting stone like surfaces is to paint layers after layers of different shades - three or four layers ought to do it. So, over the dark grey I added brick brown with a very dry and hard brush to give it texture and highlight the cracks in the stone.

This is the third of fourth layer, if I remember correctly. Could even be the fifth, I´m not sure. I have been toning the same shade of brick brown lighter with white after every phase still using a very dry brush to beat the colour to the "stone". You can see how the uneven texture of my early carving becomes more visible and how the cracks and markings on the stone pop out.
 To finish a texture and feeling of stone worn over centuries I add gloss varnish for the smooth surfaces careful not to let any lacquer slip to the crumbled parts that need to keep their rough feeling. Two layers of lacquer give the "stone" depth and more natural appearance.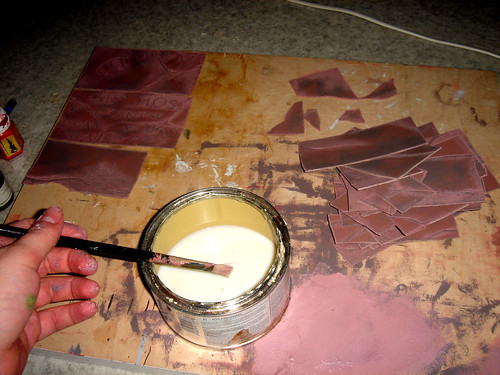
Here it is, my library, the spiral staircase, red brick wall and monastery tile floor all finished! However, the library itself is not finished as one might guess, for what is a library without books?
Now that everything else is done I can finally start making the bookshelves that will cover the wrest of the walls. The wall on the left side, where the doorways are located will be covered by a face bookshelves; the back wall, on the other hand, will hold real ones reaching up from floor to high sealing. There will be a sliding ladder of course - how else the dolls could reach their books? And the hard part is, I want the books to be real books with pages and leather covers with golden capitals. The mere though makes me sigh dreamily, but then again, its going to be a hell of a lot of work. Happily, Juhana has agreed to help me on this, but knowing him the books he´ll be making are all going to be some Lovecraft related occult nonsense, but no matter, I don´t think my dolls can read anyhow. ;)