Monday, 23 August 2010

www.emiliacouture.com

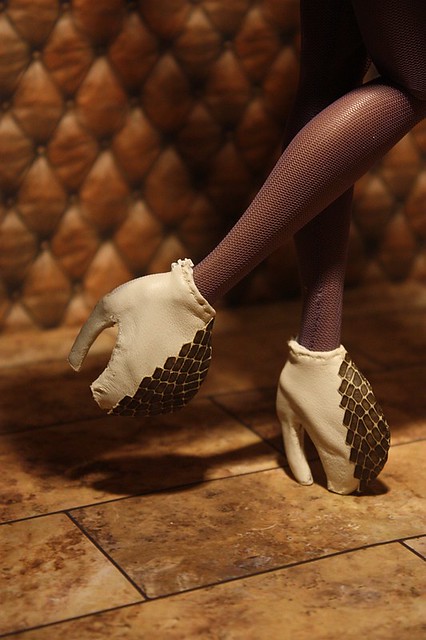
My new website's beta version is up and running at http://www.emiliacouture.com now. This will be one of the first steps in building my own line of doll fashions. In the website you can join the first-to-know list to keep posted with the new designs. There will be an opportunity to commission  a very limited number of  those Alexander McQueen armadillo shoes for Sybarites in the near future and I'll be testing to make them in Fashion Royalty as well. So join the list and be the first to know!


Sunday, 22 August 2010

Irezumi - Yakuza Tattoo

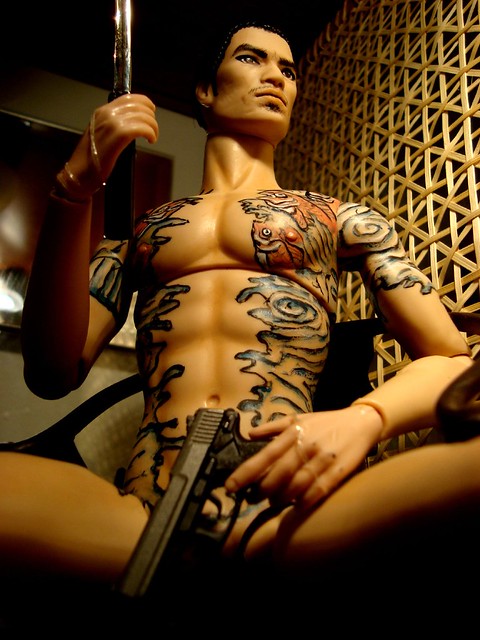
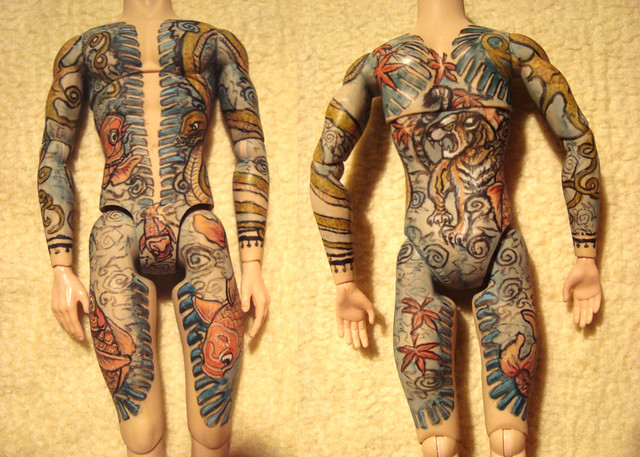
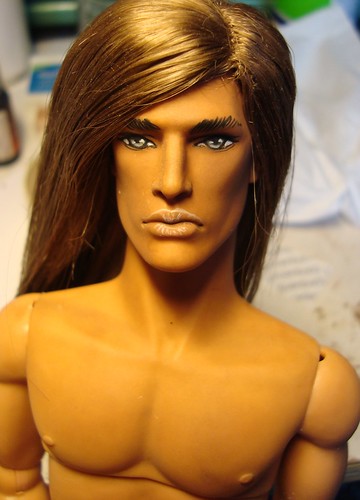
I did a yakuza tattooed FR Homme doll a couple of years ago and found the world of these notorious Japanese tattoos fascinating. Today, I got an inspiration for a new yakuza tattoo and had an extra FR Homme body around to use as canvas. I bought a Hot Toys Goemon Saizo head to complete the doll. I think this tattoo came out better than the first one as I researched lots of ukiyo-e and yakuza symbolics in order to create it. 

My first yakuza tattoo doll

The new yakuza body tattoo from front and rear
 Shoulder details, an octopus and a snake
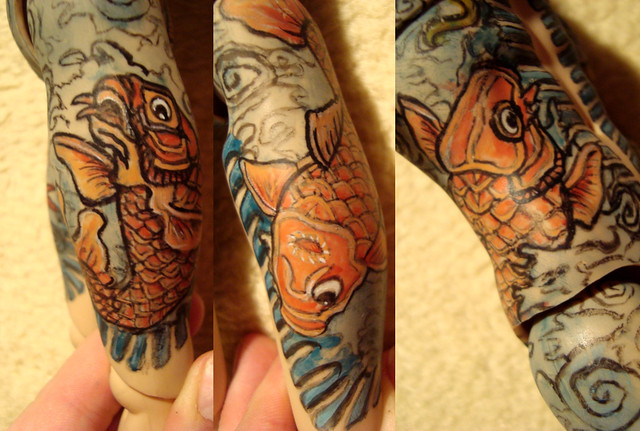
 Carp details on his thighs and side
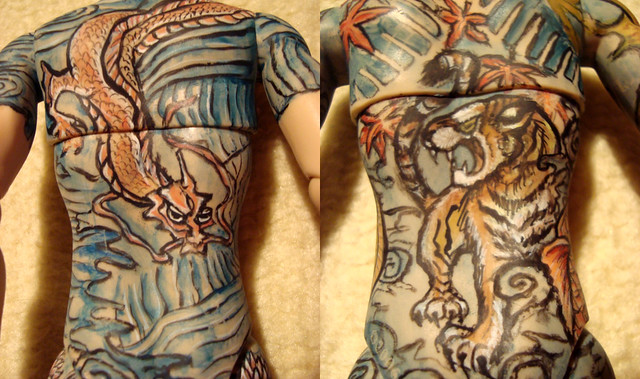
On the left is the first yakuza tattoo I made. A dragon as the character is a leader of his clan and dragon symbolises power. On the right is the new yakuza tattoo. A tiger for fearlessness as the character is an assassin for his clan. I think the new one is technically better too. I'm pondering whether or not to repaint the old one as the dragon looks rather silly really.
What do you think?

Friday, 6 August 2010

Sneak peeks of the Tribute to Alexander Mcqueen collection Vol.5

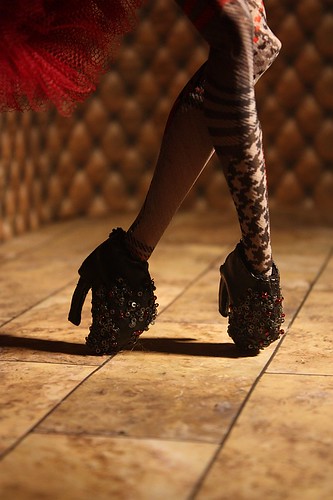
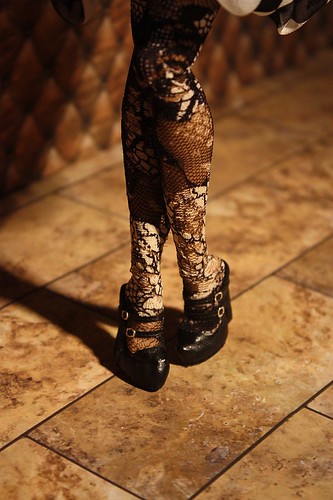
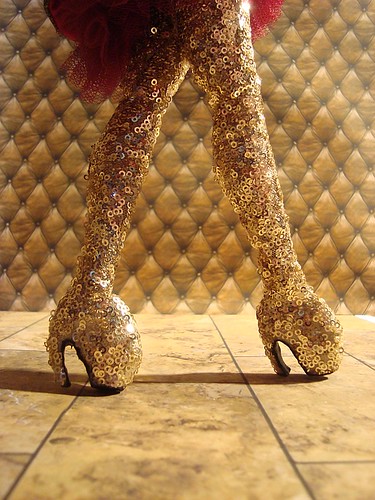
Sorry to torture you some more, but there is still no word when the Doll Reader article will be out so I still cannot release the full designs. But I just had to share something with so many people emailing me about the collection. So, here are the shoes. *All made for Sybarite dolls.


Saturday, 3 July 2010

Until Death Do Us Part


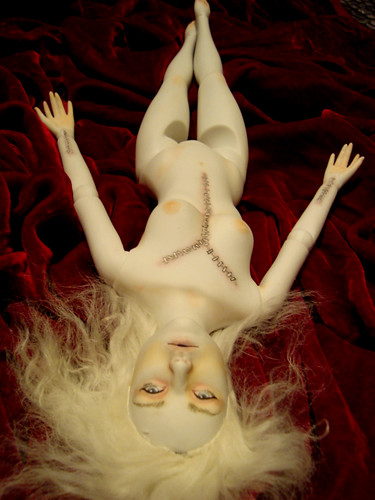
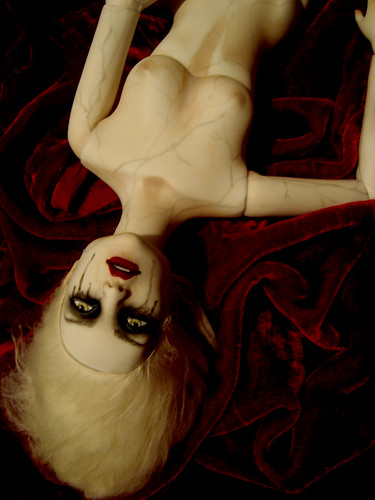
This is what I'm currently working on 
- a horror doll series Until Death Do Us Part. 
The collection consists of four dressed Alabaster Antoinettes 
who have been heavily resculpted, then painted and 
mohair wigged. These are not the final pieces yet as 
their hair still requires some styling and 
I haven't even started working on the fashions. 
The four fashions will be a bridal collection, 
but I can't reveal more at the moment 
as I haven't really designed it yet 
as the concept is mainly based on the dolls 
and this time fashion will have to come second!

Saturday, 29 May 2010

Sneak peeks of the Tribute to Alexander Mcqueen collection Vol.4

This is a sneak peek from the tribute to Alexander McQueen collection featuring the last and 5th piece in the collection. I have just sent the photos of my 5 piece collection to the Doll Reader magazine and your wait is almost over! I'll keep you posted when the magazine comes out and you may see the full photos.

Friday, 21 May 2010

Sneak peeks of the Tribute to Alexander Mcqueen collection Vol.3

Here is another update on the Tribute to Alexander McQueen collection. Sorry to still keep you in suspense, but it shouldn't be long now. The deadline on 1st of June is soon upon us and the interview for the Doll Reader magazine takes place tomorrow evening. I still have quite a lot of work to do, but I'm confident I can finish in time.

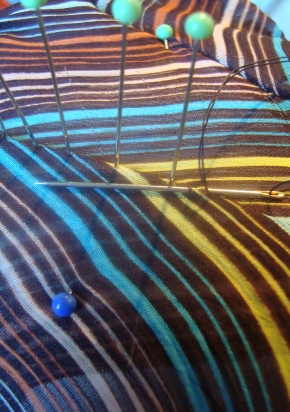
This is what I'm working on right now. For me McQueen is all about creative use of prints and I've been meticulously aligning the striped fabric for the 4th collection piece. The fabric is a really bothersome silk crepe that slips away from the sewing machine all to easily so I'm been hand stitching alot, but that's what couture is all about, right. ;)

 
Keep posted for more!

Tuesday, 18 May 2010

Sneak peeks of the Tribute to Alexander Mcqueen collection Vol.2

Here they are: the fresh sneak peeks of  the Tribute to Alexander Mcqueen collection. The third piece of the collection is now done and I've added some details to the first two as well. Sorry to torment you like this but I'm sworn to secrecy until the Doll Reader Magazine comes out! ;p

Monday, 10 May 2010

Sneak peeks of the Tribute to Alexander Mcqueen collection Vol.1

As you probably know, if you've read the earlier posts, I'm currently working on a small collection that will be a tribute to the memory of Alexander Mcqueen. The collection will be made for Sybarite dolls and launched on an exclusive article on the Doll Reader Magazine. The first two outfits of the collection are now finished so I wanted to give you a little sneak peeks. 

Keep posted for more sneak peeks as the collection develops.

Monday, 26 April 2010

Ephydriad by emiliacouture

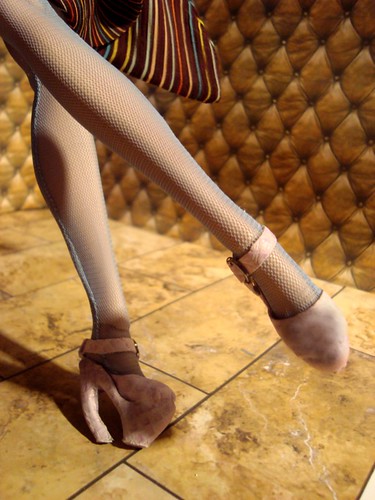
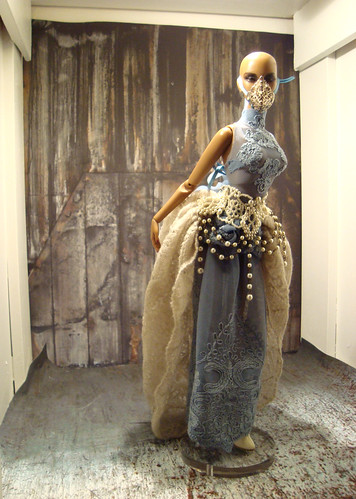
I was working on my "tribute to Alexander Mcqueen collection" on Saturday morning and making stockings out of smoke blue fishnet fabric when an inspiration hit me.  I had bought the fabric simply for the netting part, as that's sort of hard to come by in Finland, but I felt is was a criminal waste that the edge of the netting was covered in elaborate embroidery. Before I noticed I had abandoned my current labour and I were pinning on the fabric on my Sybarite Inque. Suddenly it was past midnight and I had very Avant Garde blue and white gown on my hands. I hadn't eaten the whole day, not even noticed the hours past, the gown was just born.

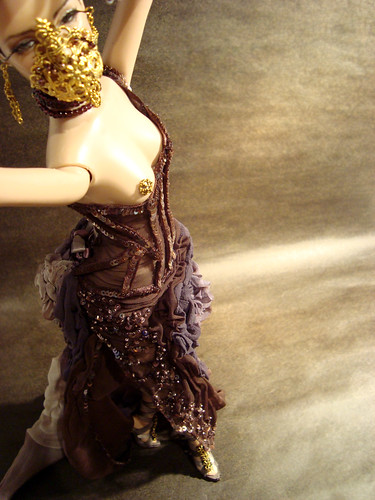
 On Sunday I added some beading and made a patina silver toned metal mask similar to the one golden one on the Amazonian Warrior gown I made for CDDC #3 embellishment challenge. The new gown had a very similar feeling to this first OOAK couture gown I thought I'd make it the second piece in the mythological series and named it Ephydriad. Ephydriad is a general term for water nymphs in ancient Greek mythology. I think I'll be making more of these couture gown inspired by myths.


The Ephydriad gown is made from smoke blue fishnet embroidery, fine vintage wool lace, laced with matching blue silk ribbons, embellished with an pearl choker worn as a belt and as a final detail the weird metal mask that functions as a common factor of the series. The cream boots are from Facets by Marcia.


More photos at my flickr.

Monday, 19 April 2010

CDDC Article in the current issue of FDQ

Exiting news! The article about CDDC featuring my photos is finally out and I just received my copy! It was a weird tingling sensation to see my work as a proper print for the first time. So get your own copy of the Fashion Doll Quarterly magazine and check it out!


Thursday, 25 March 2010

The Latest Gossip - Tribute to Alexander McQueen

Alexander McQueen's death struck a huge blow to the world of fashion. He was an icon and my favourite designer. After his death  I lost my interest in fashion design for quite some time - though fatigue from CDDC might have played it's part too. I noticed now that instead of my usual routine of viewing all the runway shows on internet I hadn't seen a single one. Nothing just felt worthwhile as who else could design like that?

But now it is time to get back on the saddle. To honour my fashion icon I have designed a 5 piece collection for Sybarites to commemorate Alexander McQueen. I do not attempt to copy any of his designs exactly (well, maybe those armadillo shoes), but instead attempt to make something that could had been a part of his collections. It is a huge challenge and the final works shall be featured in an exclusive article on Doll Reader magazine. I'll keep you posted with the work, but you'll have to wait for pictures until the magazine is out. ;)

Saturday, 13 March 2010

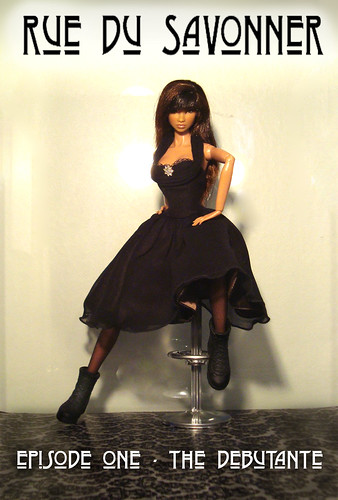
Welcome to Rue du Savonner!


A new site for my photostories is now up and 
I'll post the new episodes one by one as I convert the old ones to Comiclife 
and make new ones. 
Hope you'll find them entertaining!

Here is the cover of the first episode for you:


Wednesday, 10 March 2010

Test with Comiclife Software

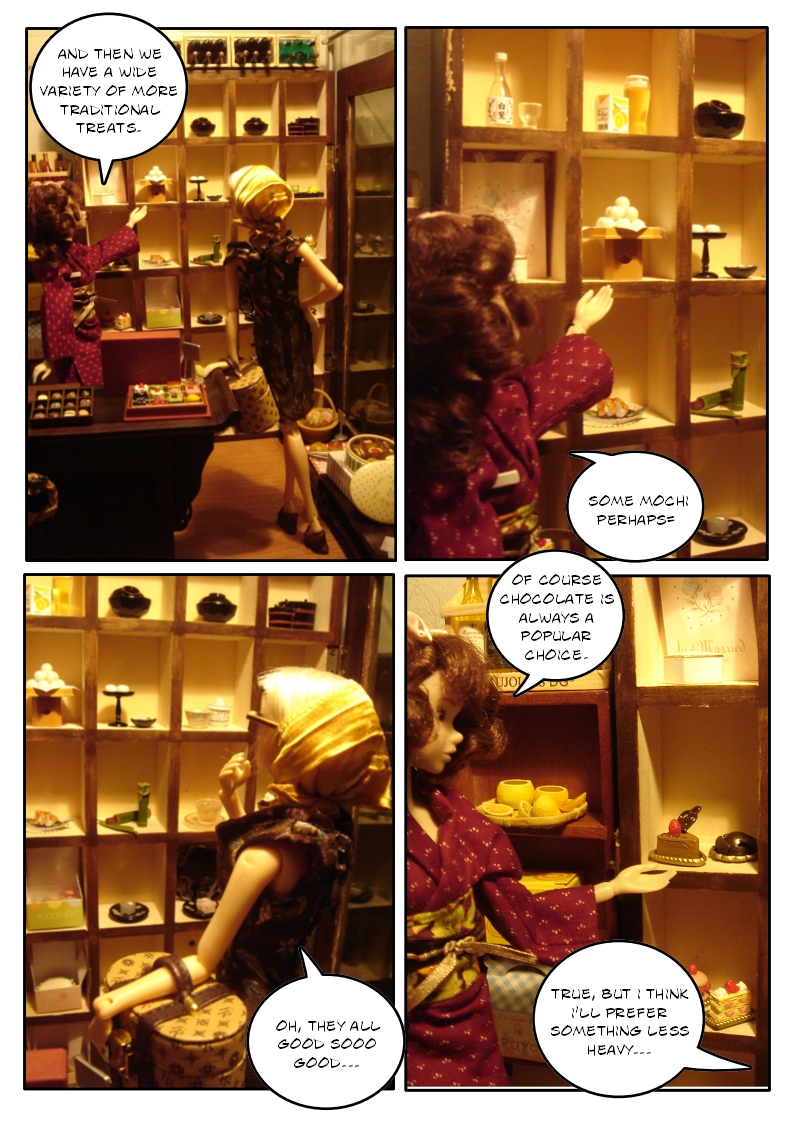
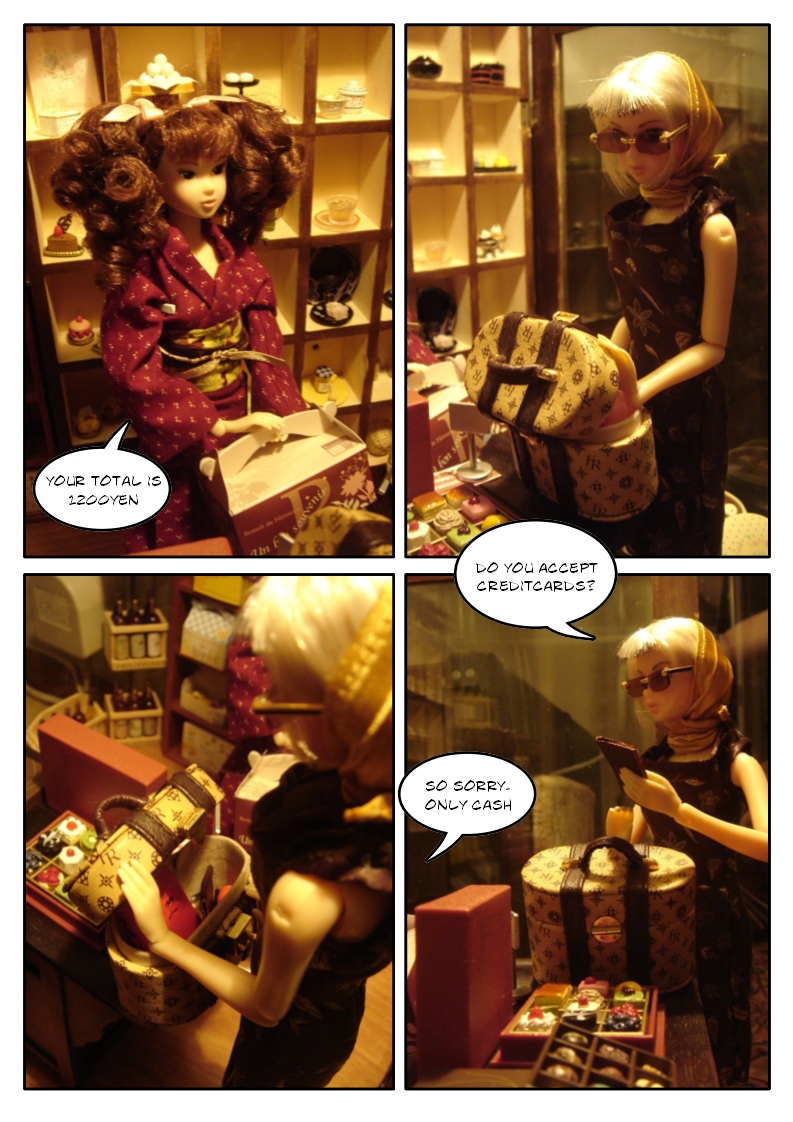
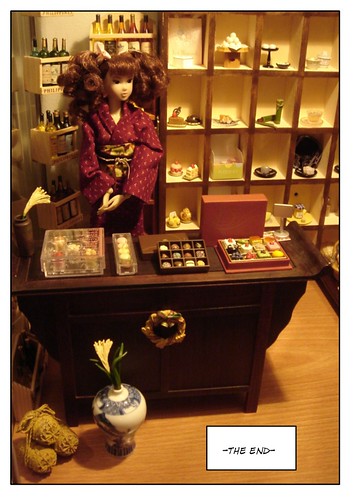
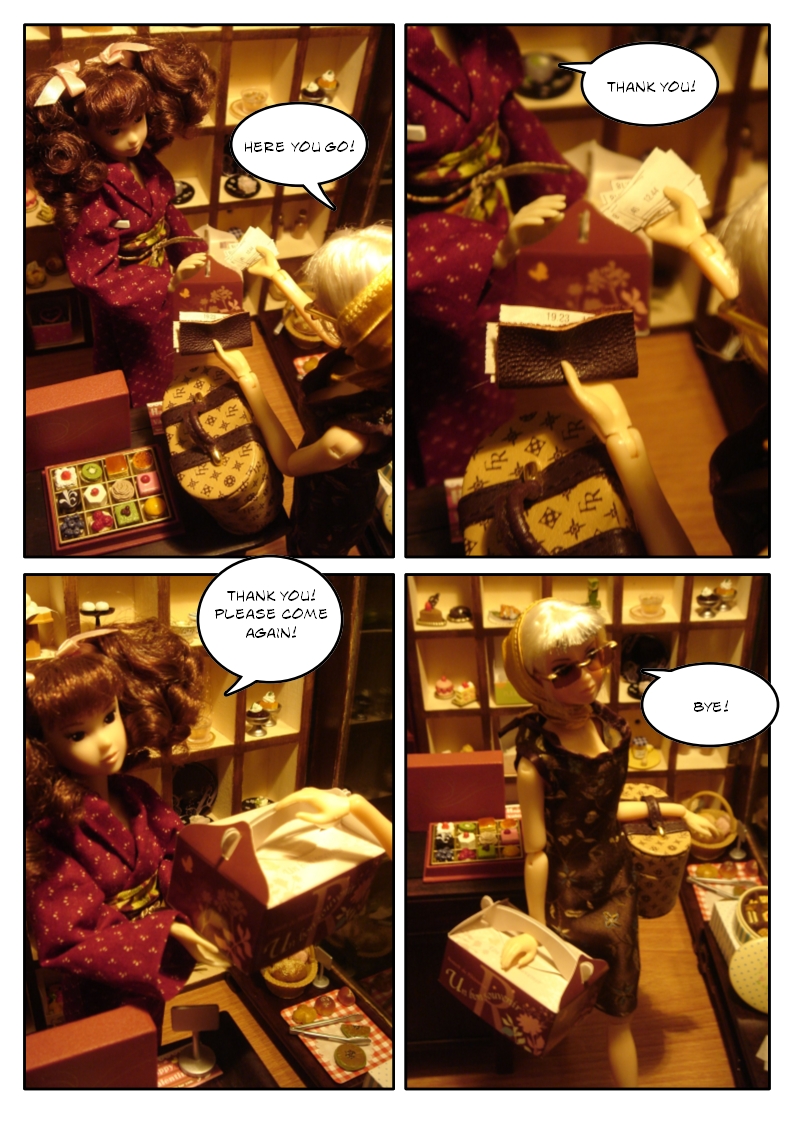
This is my first attempt at using the software Comiclife. I used my oldest photostory - Delicatessen - to get some practice. It's not much of a story anyway, just diorama shots with no real plot line, but it's short and simple, thus easy practice. The software is really easy to use and I think I'm hooked. I'm actually consider converting all my stories to this format.

Sorry if the texts are too small to read.
The blog format seems to crop the bigger pics by itself from the side.
Click the pics to see the larger format.
 

Tuesday, 9 March 2010

Open for commission

My schedule is open for commissions. Please contact me with email (emiliacouture (at) gmail.com) to get an appointment from my list.

The commission works I do:
- Fashions, shoes, bags, jewellery
- Furniture, 6th and 4th scale
- Repaint or enhancement
- Reroot, haircut and stylish
- Skin tone swap as seen my the previous post. Requires two dolls for better results as colour may be worn from the body in time (testing in progress), so send me pale and dark doll and I'll swap the skin tones the other way around! Full facial repaint recommended.
- I could do a doll house too but the shipping will cost fortunes. ;)

Sunday, 7 March 2010

Tanned Lukas

I was hoping that there would be a tanned Lukas for me in the new FR collection, but the boy was as pale as ever. Simple solution: had to make one myself!


I removed the flock hair and swapped the Lukas head into a Pierre body. Then grained pastels with a coarse sand paper to make a mixture matching the Pierre skin tone and powdered the head with it. Couple of layers for smooth and even results and seal spray. Then the face was ready to be repainted again. Simple thing really. Now making my poor Pierre head paler is going to be a challenge! ;)

Since I had to sacrifice my white haired Lukas to do this I gave him white hair again and tried to repaint his face to resemble the original screening. Now he's back, but with a nice tan. I have nothing against pale dolls, but I love variation and it was time for Lukas to get some colour!


Do try this at home! ;)

One additional photo of my Lukas with a wig:

Friday, 26 February 2010

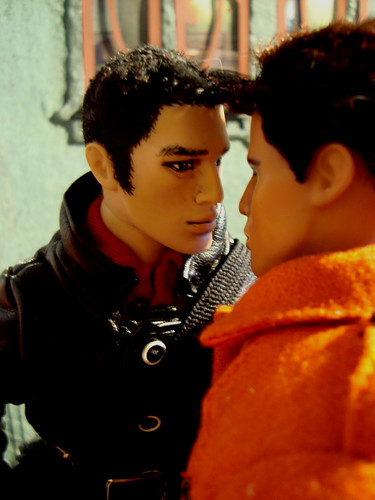
Photostory: Valentine's Day Special

 I made a special romantic photostory especially for Valentines day, but forgot to post it here until now. 
It's a must-read for those who are rooting for Amaury and Marcas to get together, but I won't reveal the details.. ;)

Here are some sneakpeeks for your enjoyment:


You can read the full story here at my flickr.

Tuesday, 23 February 2010

Making a Stonewall

Hi. It's been a while. After winning the Couture Doll Design Challenge I've been experiencing a sort of a creative dry season, but finally it's beginning to pass. Moving to a new city certainly didn't help as we have accumulated quite a pile of stuff and being rather penniless students we had to carry the whole truckload ourselves - luckily we have such a wonderful families they came to help out.

Anyway, yesterday I finally got an inspiration to make something new for my diorama that I had neglected since Summer. My hubby had printed me some photos he took during his study-trip to Paris as huge backdrops and the way the backdrop meets the floor bothered me. So, what I wanted was a an ancient looking stone wall to cut the view in half. I chose blue Styrofoam as the building material as its light, easy to paint and has much smoother grain then the white Styrofoam. To decide the perfect height for the wall I used one of my FR Homme. As the dolls are rather tall in 6th scale I actually asked my hubby how hight did the usual stonewalls appear to him - as I'm so short my view wouldn't help much! ;)
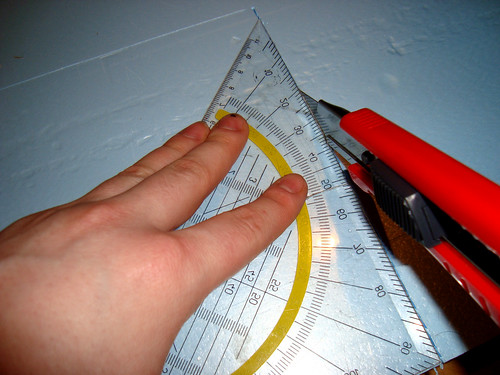
 I used a ruler to cut half way into the Styrofoam and then just hit the sheet against my knee to brake it. This way you don't need anything to protect the surface you're working on (lazy).

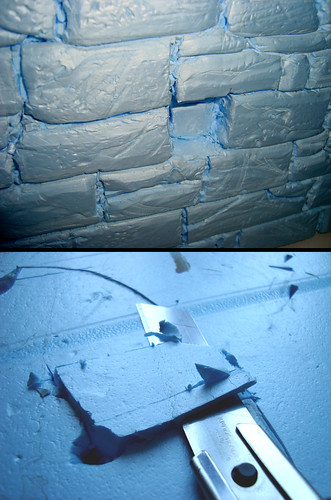
I used a regular pencil to sketch the stone-pattern to the Styrofoam. Instead of actually carving the Styrofoam its much easier - and much less messy - to use pencils or etc to force the lines into the material.

I used chains and other stuff I found lying around to beat the Styrofoam to give it uneven rock-like surface. You can add more texture when ever you want as long as its before painting.

After the stone-patterns were done I edged them deeper with a chisel. Instead of just cutting the lines deeper I also used the chisel to press the cracks into the rocks and sort of round the edges so the stones seem more loosely piled.

I made a couple of deeper set rocks by cutting the rock loose and pushing it deeper to the sheet. Then I cut off the excess material. Again, this is much less messy and gives a better effect than carving off a piece.

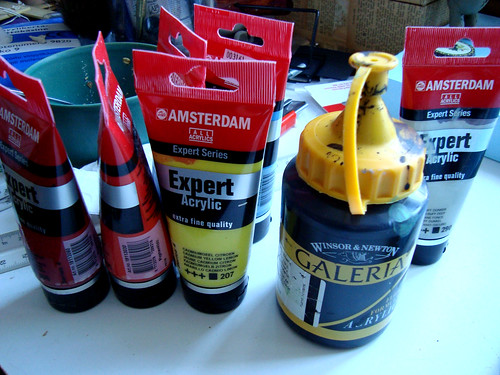
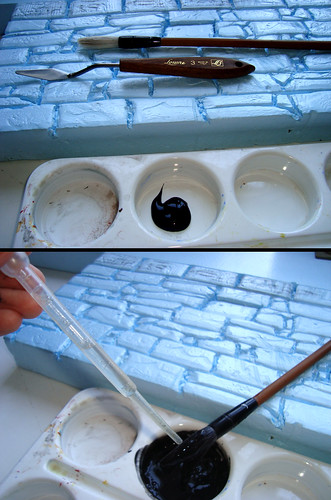
And now to the painting phase: I used regular acrylics to mix the paint for the wall. There is no point of using the more expensive acrylics used for doll faces to paint scenery, so I recommend any old stuff used for poster painting etc. that comes in a good sized tube.

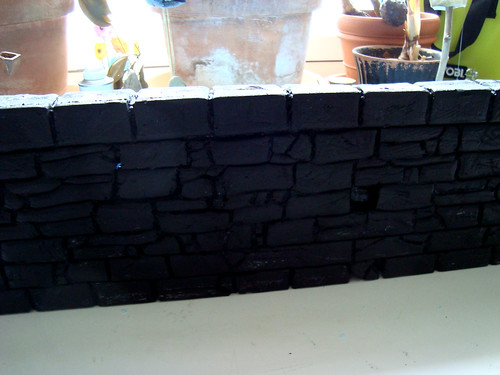
Dilute the acrylic paste with water so even the tiniest cracks are filled with colour. I started out with black base, but in retrospect the contrast might be too much giving a sort of comic book effect instead of realism. I recommend starting with dark grey or brown depending of the colour scheme you want your wall to be.

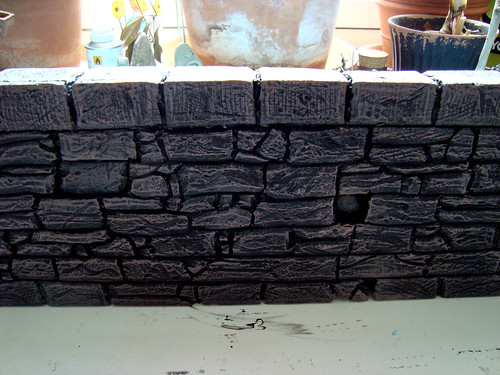
 Below you'll see my wall painted all black. This took about 3 layers to get this coverage. Naturally the less you dilute the paints the more they cover, but then it's going to be hard to get that thick paint into the tiny cracks of the wall.

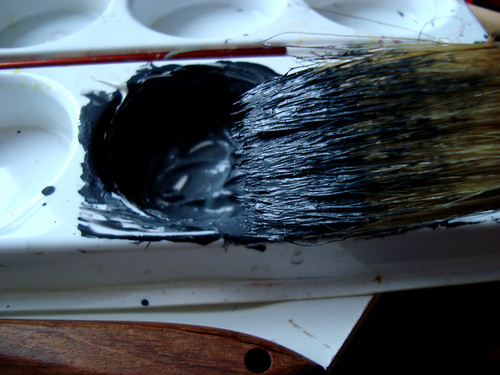
Dry brushing is a method of highlighting the texture and creating artificial shadows to a miniature item. Tap your brush gently in the paint and then dry it by brushing a paper. Then decide the direction of the light and brush down from that direction, touching up all the highest places of the texture.

The effect to one layer of dry brushing.

 Then, one by one, mix lighter shades and repeat the dry brushing. You'll get the best results with 4-5 layers. Remember to keep both your paint and brush really dry and test the brush on paper before each stroke.

 Wall after 5 layers of dry brushing. As you can see the contrast is rather strong so it's better to start with a lighter shade. 
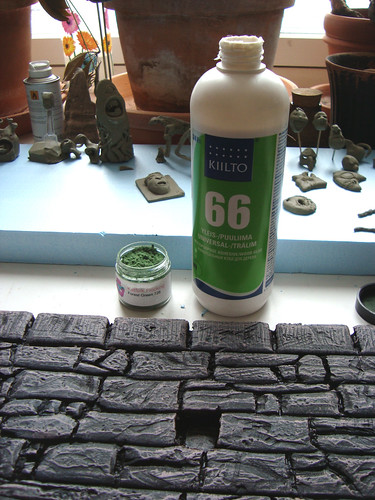
To add a more natural effect and a bit of age to my wall I wanted to give it a touch of moss here and there. For the moss I use green flock - the same stuff I use for doll hair, from restoredoll.com) and ordinary wood glue (Elmer's will do fine).

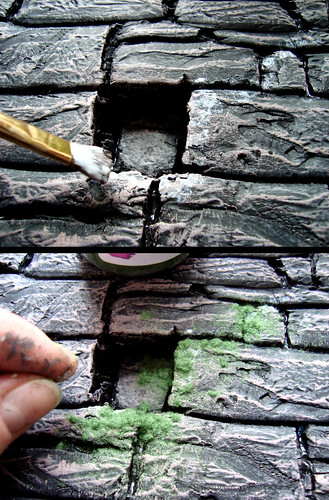
 The method of flocking the wall for moss is exactly the same as flocking doll hair. Depending from the thickness of the glue layer you'll either get a hint of moss or real patches of it. I started out just tapping the glue gently on the wall and added the first layer of green flock. Then I repeated the treatment in places with more generous amounts of glue to get thicker patches of moss.

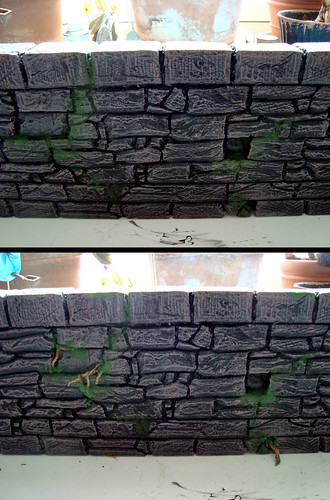
To give a final effect I added some roots (from my dead bonsai) poking out of the cracks between the rocks.I think I might add some patina later on to make it feel more real and urban. Maybe some street dust, bird poop and graffiti, but for now this will have to do.

Here is the stonewall finished and in it's place in my diorama:


Hope you enjoyed this and will try it at home!